How to Divide a Class Into Groups
The fastest way to divide a class into groups is to drop your student list into a free random group generator, choose how many groups (or how many students per group) you want, and let it shuffle. In seconds you get balanced, unbiased groups with no arguments about who ended up with whom. You can also group by hand using counting-off, playing cards, or name draws, but a tool is quicker and takes the "teacher's pet" complaints off the table.
Want to skip the setup? Open the free team picker, paste your class roster, pick the number of groups, and hit shuffle. No sign-up, no spreadsheet, no fuss.
Group 1
Group 2
Why Grouping Students the Right Way Matters
Group work is one of the best tools a teacher has. It builds collaboration, gets quiet students talking, and lets kids learn from each other instead of only from you. But the way you form those groups shapes how well they run.
Pick groups badly and you invite trouble. Friends who always cluster together drift off task. One strong student ends up doing all the work while others coast. And the moment kids sense you're picking favorites, you lose their trust for the rest of the lesson.
Good grouping fixes all of that. It spreads talent evenly, mixes up social circles, and feels fair to everyone in the room. That's the goal: groups that are balanced, quick to form, and free of drama.
Random vs. Strategic Grouping: Which to Use
There's no single "right" way to group a class. It depends on what the activity needs. Broadly, you're choosing between random grouping and strategic grouping.
Random grouping ignores who's who and shuffles everyone. It's fast, feels fair, and breaks up cliques. Perfect for icebreakers, quick discussions, low-stakes games, and any time you want fresh combinations.
Strategic grouping is deliberate. You place students on purpose, maybe mixing skill levels or separating two kids who distract each other. It takes more thought but pays off for long projects and mixed-ability tasks.
Here's a quick way to decide:
| Situation | Best approach |
|---|---|
| Icebreaker or quick warm-up | Random |
| Daily discussion groups | Random (reshuffle often) |
| Multi-week project | Strategic (balanced skills) |
| Peer tutoring | Strategic (pair strong + developing) |
| Games and competitions | Random for fairness |
| Lab or safety-sensitive work | Strategic (spread reliable students) |
Most day-to-day grouping falls under "random," which is exactly what a group generator handles best.
How to Divide a Class Into Groups in 4 Steps
You don't need any special software. Here's the whole process from roster to ready-to-go groups.
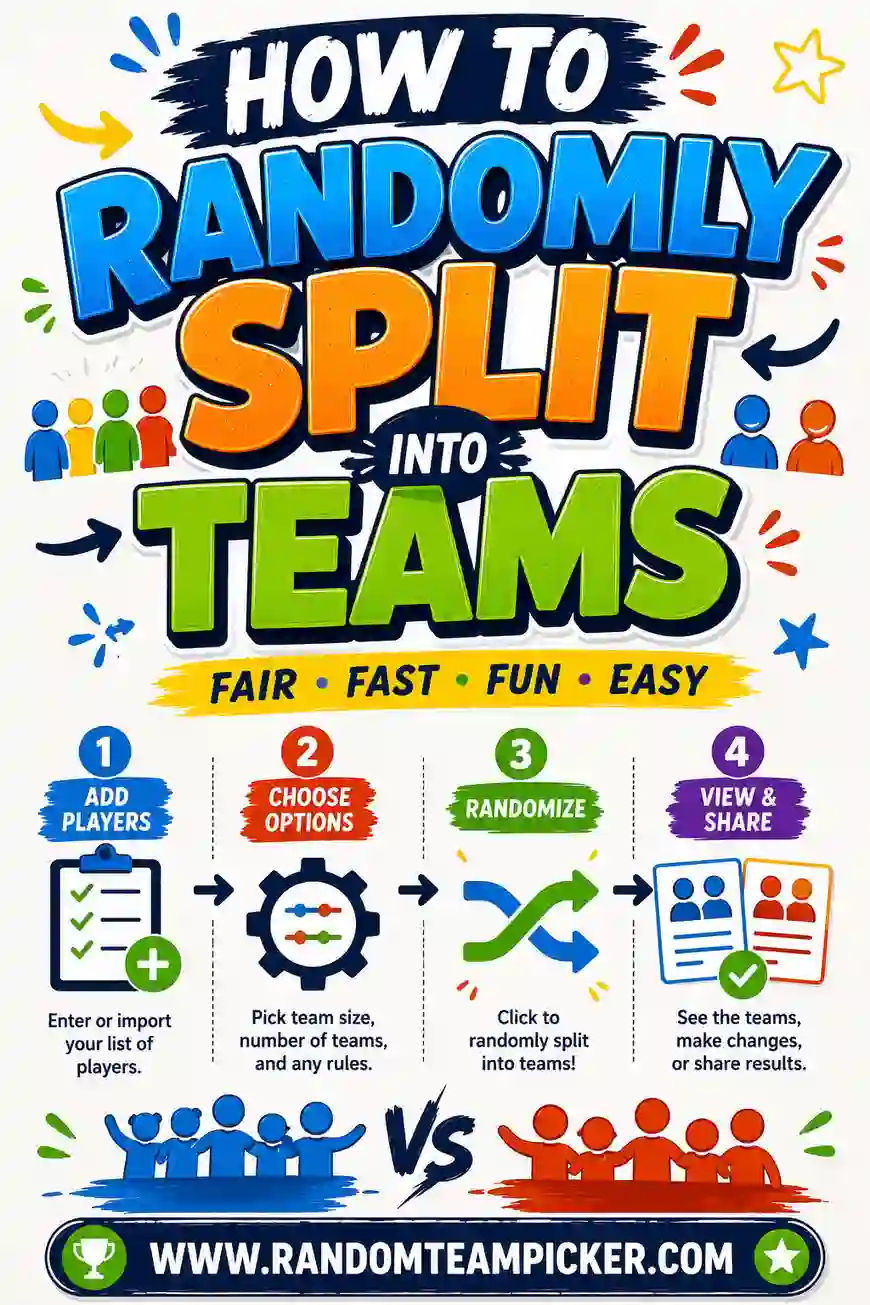
- Type or paste your class list. One student name per line works best. If you use a generator, you can paste your whole roster at once.
- Decide your grouping goal. Do you want a fixed number of groups (say, 5 groups) or a fixed group size (say, 4 students each)? Both are valid, pick whichever the activity needs.
- Shuffle. Let the tool randomize and split. If a group feels off, just reshuffle, it takes a second.
- Announce and go. Read out the groups or display them on the board. Point students to their spots and start the activity.
That's it. What used to eat five minutes of class time now takes under thirty seconds.
Choosing between "number of groups" and "group size"
These two settings solve different problems:
- Set the number of groups when your room has a fixed number of stations or tables. Six tables? Make six groups.
- Set the group size when the activity needs a specific headcount, like pairs for peer editing or fours for a board game.
If your class doesn't divide evenly, that's normal. One or two groups will have an extra member. A good generator spreads the leftovers out so no single group balloons.
Manual Ways to Divide a Class (No Tech Needed)
Some days you don't have a screen handy, or you just want to mix it up. Here are reliable low-tech methods.
Counting off
Have students count "1, 2, 3, 4, 1, 2, 3, 4…" around the room. All the 1s form a group, all the 2s form another, and so on. It's quick, but savvy students learn to count ahead so they land with a friend.
Playing cards
Deal a card to each student. Group by suit, by number, or by color. Kids love the little bit of chance, and it's genuinely random.
Popsicle sticks or name draws
Write each name on a stick or slip, then draw them into piles. Fully random and hard to game. The downside is the prep time and the risk of a lost stick.
Line-up methods
Have students line up by birthday, height, or first letter of their name, then chop the line into equal groups. This adds a fun movement break and sneaks in a little sorting practice.
Manual methods work, but they're slower and easier for students to manipulate. When fairness and speed both matter, a digital team picker wins.
Grouping Strategies for Different Class Sizes
Group size changes the whole feel of an activity. Here's a guide to help you pick.
| Class size | Groups of 2 | Groups of 3 | Groups of 4 | Groups of 5 |
|---|---|---|---|---|
| 12 students | 6 groups | 4 groups | 3 groups | 2–3 groups |
| 20 students | 10 groups | ~7 groups | 5 groups | 4 groups |
| 24 students | 12 groups | 8 groups | 6 groups | ~5 groups |
| 30 students | 15 groups | 10 groups | ~8 groups | 6 groups |
A few rules of thumb:
- Pairs are best for focused tasks like peer editing or think-pair-share. Everyone stays accountable.
- Threes and fours hit the sweet spot for most projects, enough voices for ideas, small enough that no one hides.
- Fives and up work for big builds or presentations, but watch for a passenger who lets others carry the load.
Keeping Groups Fair and Balanced
Random grouping is fair by default, but a few habits make it even better.
Reshuffle regularly. If the same students always work together, they stop stretching. Fresh groups each week keep things lively and stop cliques from forming.
Mix, don't stack. For skill-based work, you don't want all your strongest students in one group. A random shuffle usually spreads talent naturally, but for graded projects you might nudge things by hand.
Have a plan for absences. When a student is out, a group can shrink to an awkward size. Keep a "floater" rule ready, like merging a lonely student into the nearest group.
Own the randomness out loud. Tell students the groups are random and show them the shuffle. When they see the dice, the "that's not fair" complaints mostly vanish.
Handling students who don't work well together
Even random grouping sometimes pairs two students who clash. Keep it low-drama:
- Reshuffle once, quietly, without making a scene.
- For known conflicts, switch to strategic grouping and separate them on purpose.
- Rotate groups often so no pairing lasts long enough to become a problem.
Grouping for Specific Activities
Different lessons call for different setups. Here's how to match the grouping to the task.
- Discussions and debates: small groups of 3–4 so every student gets airtime, then combine into larger groups to compare ideas.
- Stations or centers: match the number of groups to the number of stations, and rotate on a timer.
- Projects: groups of 4 with clear roles (leader, recorder, presenter, checker) keep everyone busy.
- Games and competitions: even teams matter most, so lean fully random to avoid stacked sides.
- Peer review: pairs or trios, reshuffled so students read a range of classmates' work.
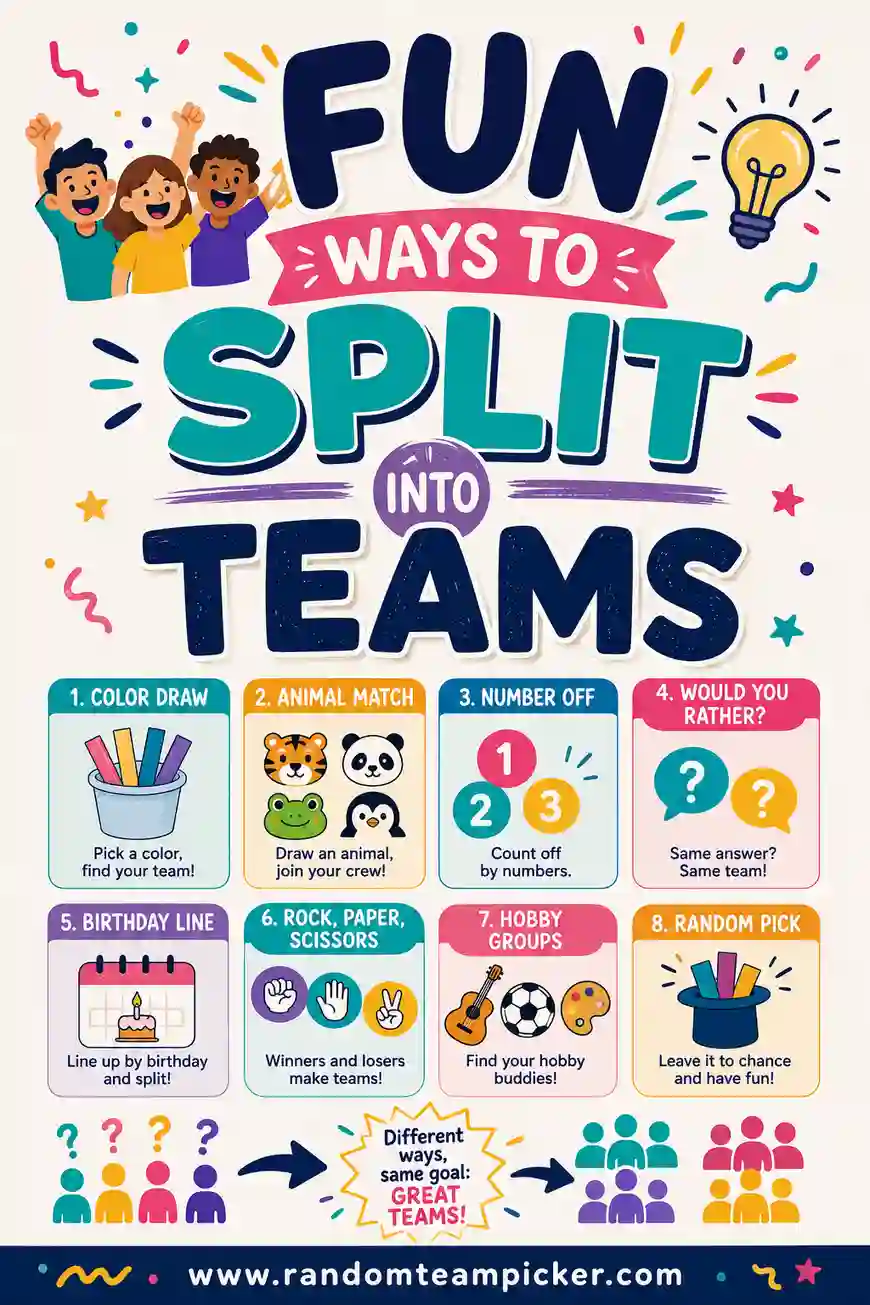
If you run games and competitions a lot, our guide on fun ways to split into teams has creative twists your students will actually enjoy.
Assigning Roles Within Each Group
Forming the groups is only half the job. Groups that fall apart usually do so because nobody knew what they were supposed to do. Assigning a clear role to each student keeps everyone accountable and stops one person from doing all the work while the rest drift.
Here are roles that work for almost any group task:
- Leader / facilitator. Keeps the group on track and makes sure everyone gets a turn to speak.
- Recorder. Writes down the group's ideas or answers so nothing gets lost.
- Presenter / reporter. Shares the group's work with the class at the end.
- Timekeeper. Watches the clock and nudges the group along so they finish.
- Checker / researcher. Double-checks answers or looks things up when the group gets stuck.
For a group of four, one role each is perfect. For threes, drop the timekeeper or fold it into the leader's job. For pairs, just split the work down the middle and let both students report.
A nice trick: rotate roles each time you group. The student who led last week is the recorder this week. Over a term, everyone gets practice at every job, and no one gets typecast as "the one who always presents."
Why roles make grouping smoother
When students walk into a group already knowing their job, they start working faster and argue less. Roles also make it easier for you to spot who's contributing, since each student owns a visible piece of the outcome. Pair random grouping with clear roles and you've solved the two biggest headaches of group work in one move.
A Quick Routine for Grouping Every Day
If you group students often, build a simple routine so it takes no thinking. Here's one that works:
- Keep your roster loaded in your team picker so you're not retyping names every time.
- Decide the group size based on the day's activity before class starts.
- Shuffle and display the groups on the board as students settle in.
- Post the roles next to each group so students know their job immediately.
- Set a timer and let them go.
Once this becomes second nature, grouping stops being a disruption and turns into a two-minute transition students barely notice. That consistency is worth a lot, because a smooth start sets the tone for the whole activity.
Frequently Asked Questions
What's the fastest way to divide a class into groups?
Paste your roster into a free random group generator, set the number of groups or the group size, and hit shuffle. You'll have balanced groups in seconds, with no counting off and no arguments.
How many students should be in each group?
For most classroom activities, groups of three or four work best. Pairs are great for focused tasks, and fives are fine for big projects, though larger groups make it easier for one student to coast.
How do I make groups fair and unbiased?
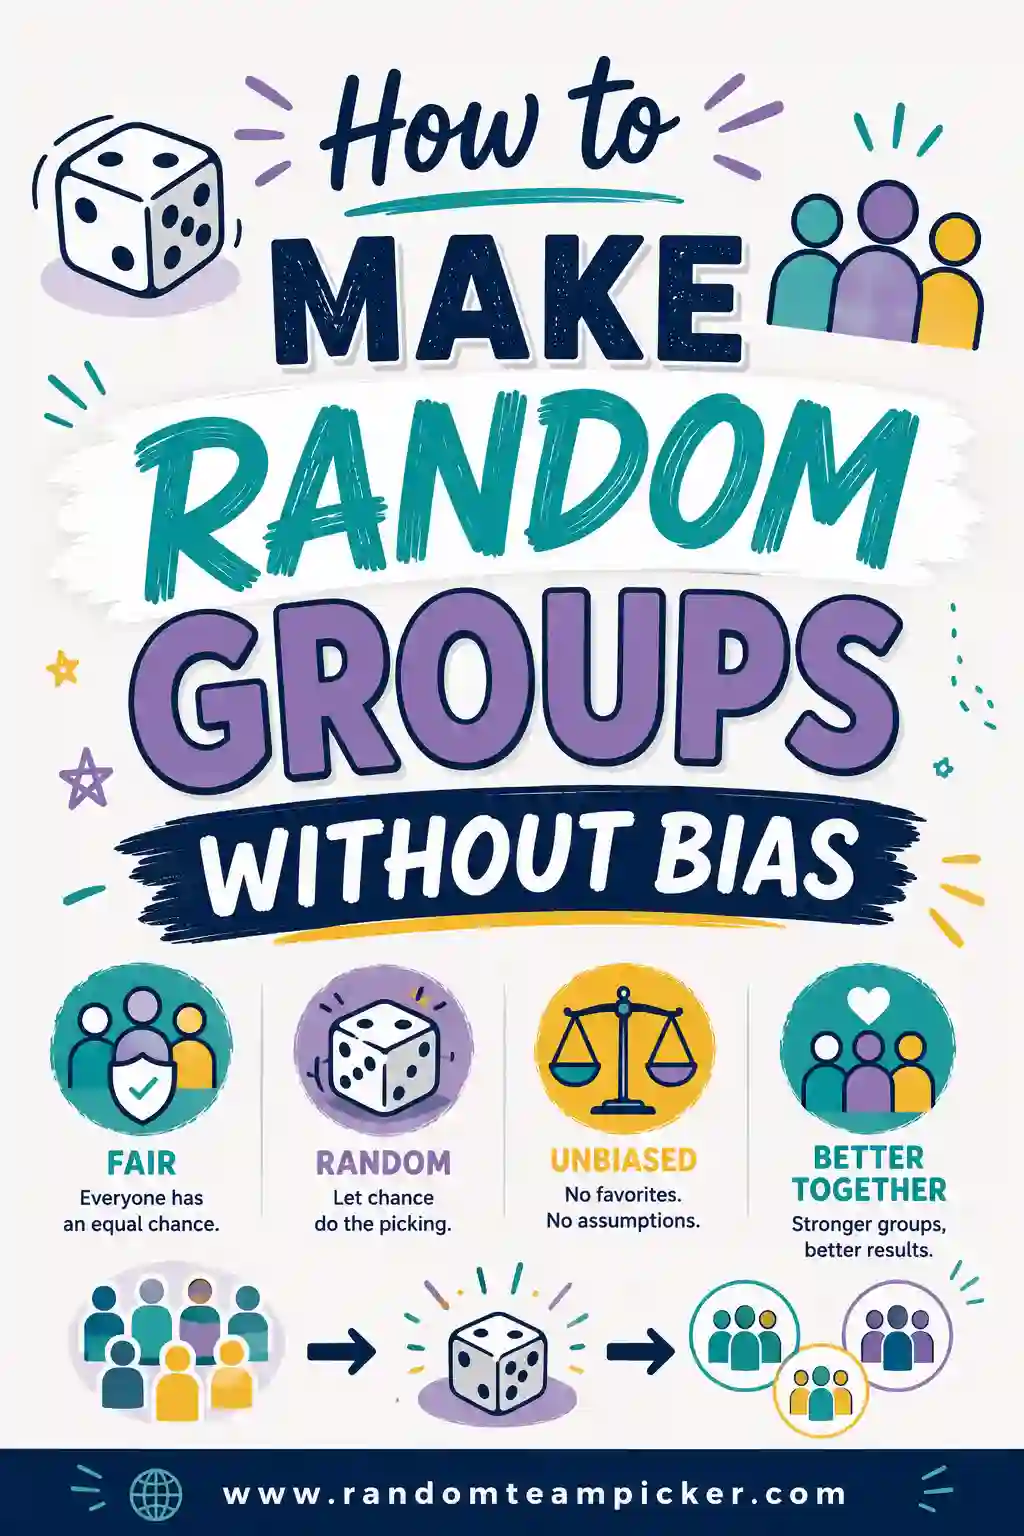
Use randomization and show students the shuffle happening. When groups are visibly random, students accept them as fair. For more on this, see our guide on how to make random groups without bias.
What if my class doesn't divide evenly?
That's completely normal. Spread the leftover students across existing groups so one or two groups have an extra member. A good generator handles this automatically instead of dumping everyone into one oversized group.
Should I let students pick their own groups?
Sometimes, but not usually. Self-selected groups tend to cluster friends and leave some students out. Random grouping is faster, more inclusive, and keeps everyone learning with new people.
Can I reuse the same groups for a whole unit?
You can for long projects where continuity helps. For day-to-day work, reshuffling keeps students engaged and stops cliques from taking over. A tool makes reshuffling painless, so there's little reason not to.
Ready to Group Your Class in Seconds?
Divide a class into groups the easy way: skip the counting-off and the playing cards, open the free team picker, paste your roster, and let it shuffle balanced groups for you. It's free, there's no sign-up, and every shuffle is fresh, so your next group activity is set to go before the bell. Try it now and reclaim those few minutes for actual teaching.